So, I bought these chairs.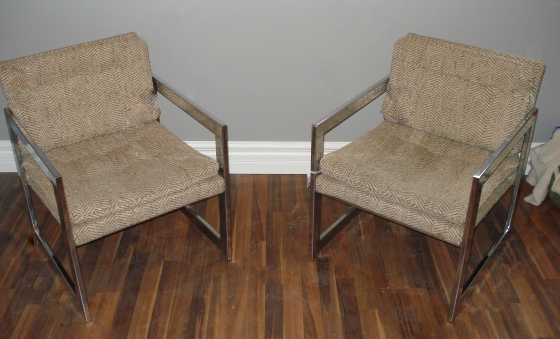
I found them at Value Village. And it was love at first sight. I spotted them among a bunch of junky furniture, and was immediately drawn to the chrome frame, because it matched my chrome and glass coffee table perfectly. And I like shiny things too. Jon calls me a magpie.
Anyway, I was wandering the furniture section at Value village on a Thursday night when Jon was out of town. I had just had Easy Home pick up the rental furniture that didn’t work and drop off a different bedroom set, leaving the living room empty. I was actually on the hunt for more colourful accessories to match what I had already purchased, but I do have to admit, finding something to fill the living room space was in the back of mind. The idea of leaving the living room empty was a bit anxiety- inducing to me, like I mentioned here. But it wasn’t what I was on the prowl for, because I just honestly didn’t think it would happen. I had no budget, so even with my thrifting skills I wasn’t even really trying because it seemed so out of reach.
Then I saw these chairs. They were marked $7.99 each. After a bit of inspection, discovering that they were in really good shape, and that the tweed was probably original, I decided they were coming home with me. I just couldn’t pass them up. I would have bought them even if I wasn’t on the half- lookout for some Unicorns of living room furniture. One just doesn’t come across perfect mid-century, possibly Milo Baughman, chrome chairs that often. If they are real Milo Baughman chairs, they could be worth a pretty penny, but I didn’t find an obvious tag so I’ll have to do some investigating.
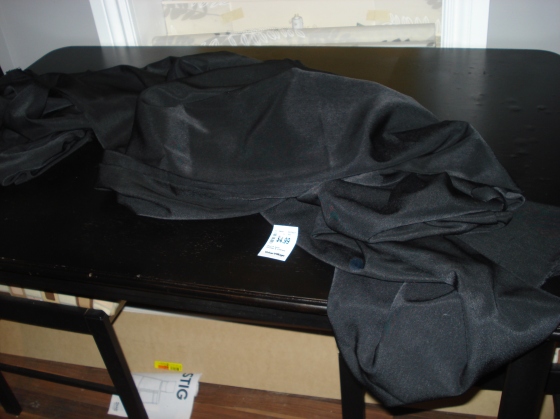
I attempted to balance one chair in my shopping cart and dragged the other behind me to the checkout to get me another of those big ole’ SOLD signs so no one else would swipe them. Then I ran back to the fabric section to see if there was anything I could use to do a quick & dirty re-upholstery,since I didn’t really have time to attempt my first all-get-out re-upholstery job. And lo and behold, there was a huge piece of black fabric for $4.99. I felt like the thrift gods must have been smiling over me that night, because everything was working out just fine ( knock on wood). I just prayed I could get them in the car.
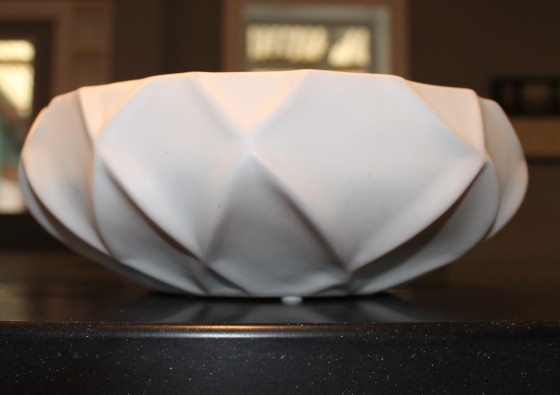
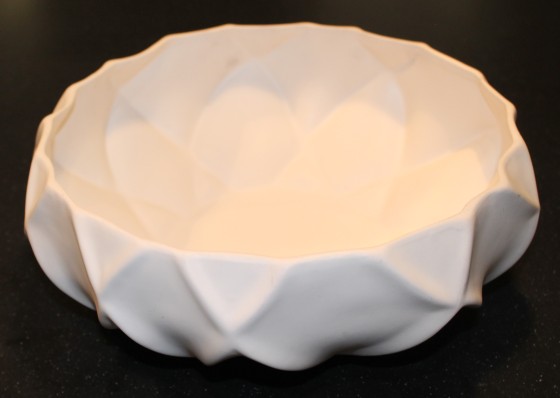
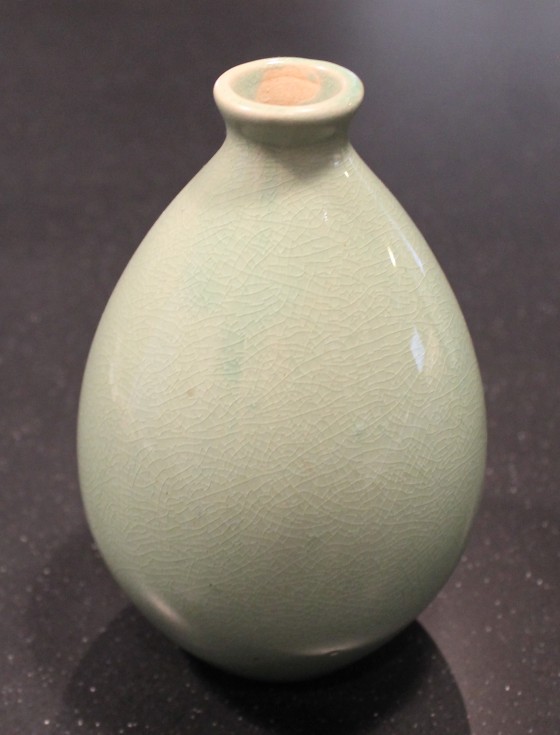
I had also found a bunch of decorative stuff I was planning to buy before I found the chairs. Then, because they were such a major coup, I decided to put the majority of the stuff back, because I didn’t love most of it the way I loved those chairs. I ended up buying two things; this really interesting bowl for $4.99 and another vase that matched the others I picked up the day before for $3.99:
Then at the checkout, the woman only charged me for one of the chairs. I didn’t realize till I got home and looked at my receipt but had thought the total was cheaper than expected…bonus! I’m not about to look a gift horse…er, chair… in the mouth.
So I’m kinda in love with these chairs. Except with the tweed. It’s in good shape and perhaps would work well in another space, but with the brand new black/ white/ gray/modern-ish theme we have going on in the house, it didn’t quite work. So enter my DIY re-upholstery, quickie-style:
The materials I used for this project were: black fabric ( a large piece, about 30 x 170 if I remember correctly, but don’t quote me on that. It cane from VV), scissors, my putty knife and a screwdriver. I began by cutting the fabric in half:
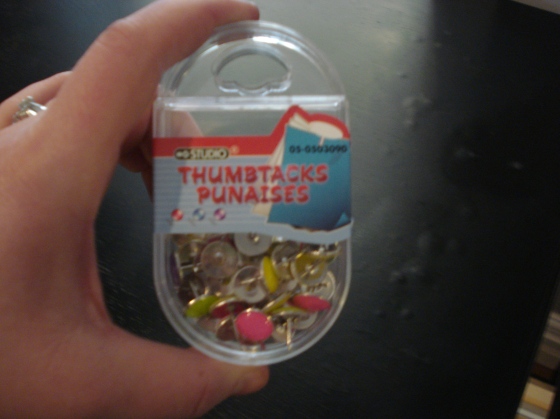
Oh yes, and I used thumbtacks. From the dollar store. I told you this was a cheap DIY!
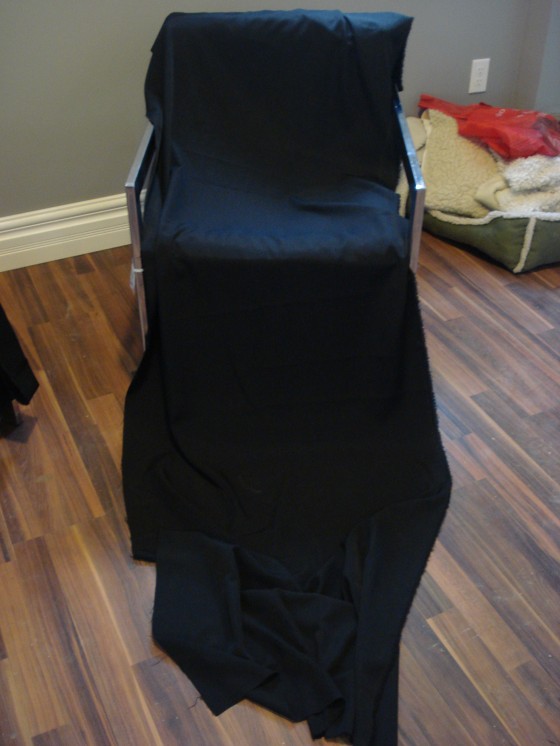
I laid the fabric out long over the chair so that the excess draped over the seat:
Then I flipped the chair over so I was starting with the back of the chair. And I proceeded to use my putty knife to shove the end of the fabric under the metal crossbar at the back: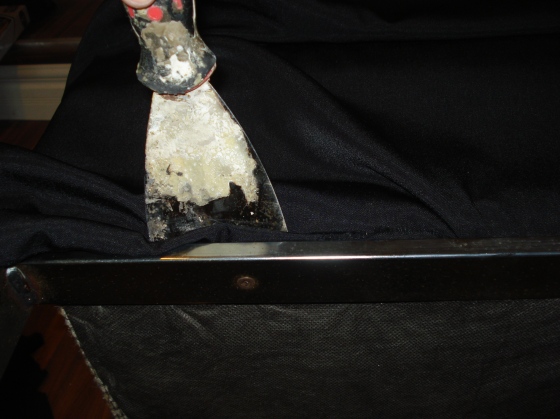
Please keep in mind I had never really attempted something like this before, so I had no idea if it would actually work or be a major fail. I wasn’t following any directions or a project scooped from Pinterest- this was all me, winging-it.
My method was mostly shove-the-ends-in-the-cracks-and wrap-it-like-a-present. With a few thumbtacks thrown in to hold the folds down. So once I had the end of the fabric shoved into the cross bar in the back, I righted the chair and pulled the fabric up over the top of the chair, and tucked a fold down in between the seat back and the cushion: 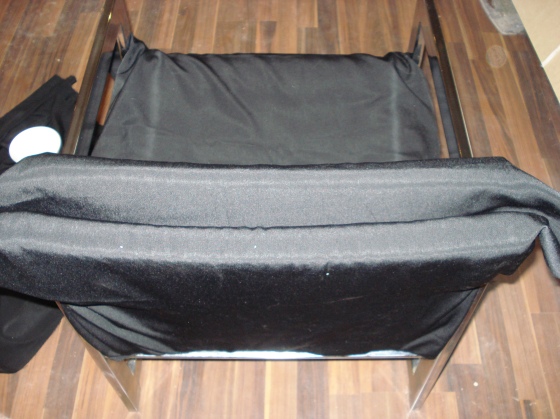 And anchored it down on the side with a thumbtack:
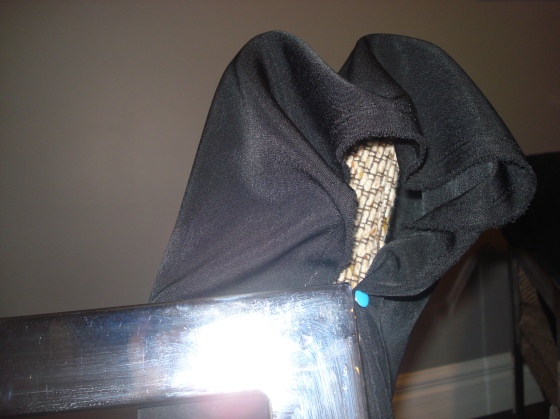
Then I pulled the fabric down and tucked it in between the seat and back. Then the fabric got pulled down the side of the chair seat, and anchored under the seat with a thumbtack: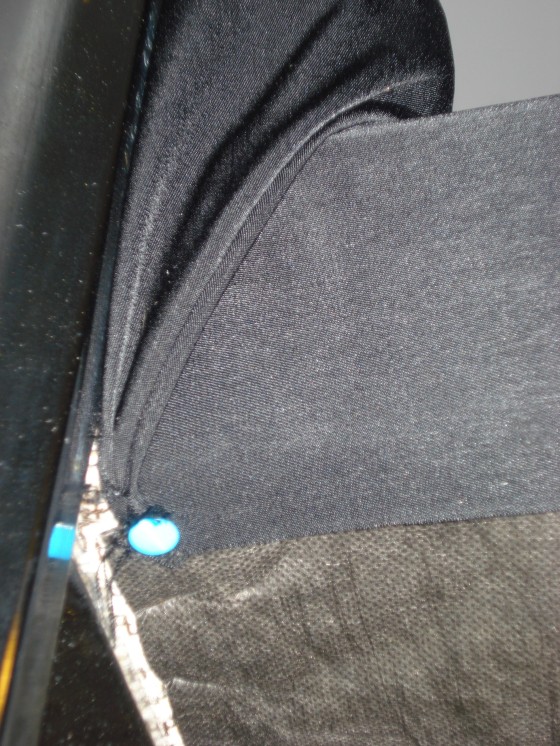 I did the same on the other side, but realized my material was a bit skinny width-wise, so I couldn’t get it pulled under the chair. So i just left the side unanchored, as the fabric hung down almost long enough to cover the side ( this is what you get for blindly buying Value Village material without measuring anything):
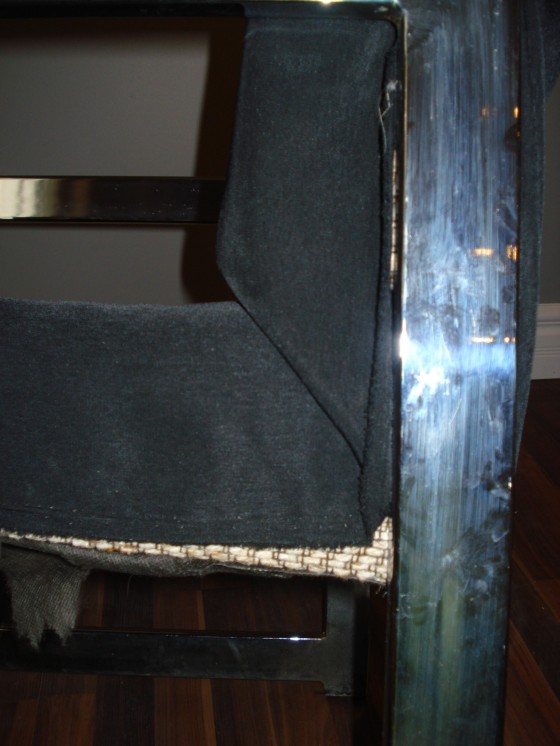
Then I doubled the fabric under itself because it was wayyy to long, but i didn’t want to cut it, just in case. It was long enough to wrap the end completely under itself all the way to where the seat meets the back, and I shoved the excess fabric in there. While I was pulling and tucking the fabric into the front of the seat of the chair and vigorously trying to get the fabric under the front chrome seat bar with my putty knife, I realized there were screws that were holding the metal support bar tight to the seat frame. 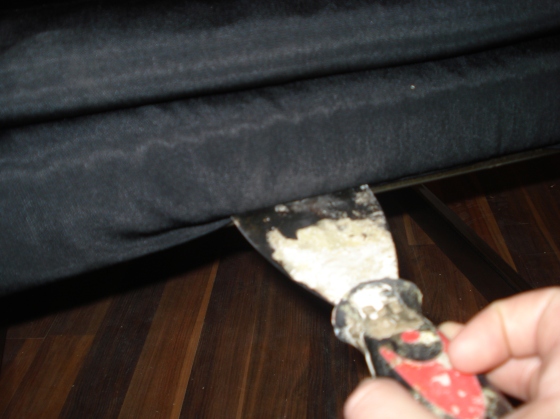 So, brilliant me, I unscrewed the screws a bit, and it made it much easier to shove the fabric in, and re-tighten:
 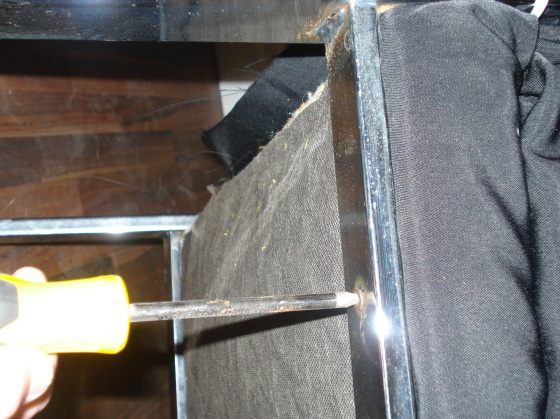 Much easier.
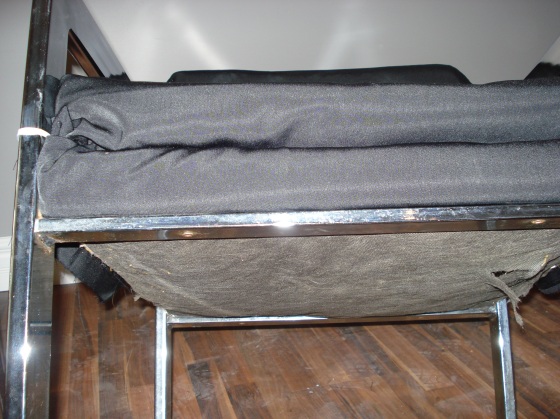
Once the seat was done, I went back up to the sides of the back cushion section that I had left open. I basically tucked the fabric in the way you would wrap a present and used a thumbtack to keep it in place:
And voilà: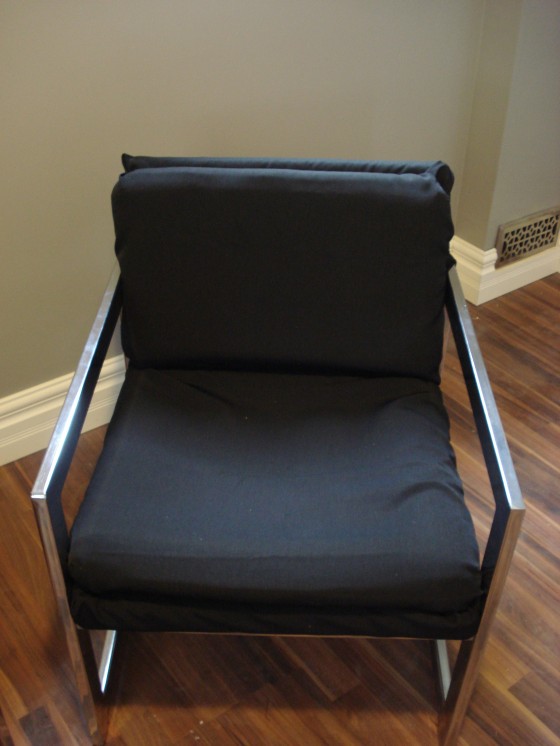
Wash, rinse and repeat on the other chair, and you have a set of brand-new fancy-schmancy modernist chairs: 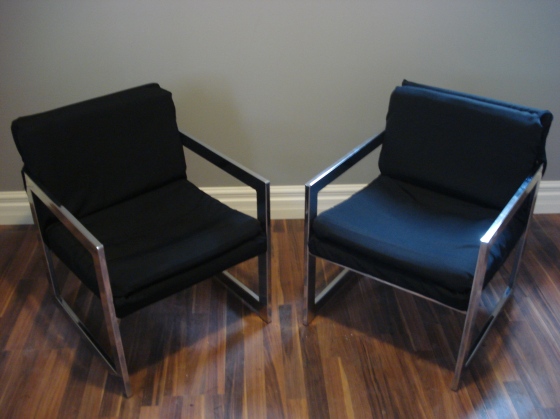
Not bad for about $15/ for the set! And it took me about an hour and a half to do the whole DIY from start to finish. Unicorns indeed! Wait till you see how these babies made that awkward, small living room look like a designers dream… That’ll be up next!